How to Install Docker on Synology NAS?
If you are seeking information on how to install docker on Synology NAS, then this is the right place for you. This blog post includes all the information that you require to carry out the installation. Apart from that, we will also run you through the process of creating a container in docker. So, shall we begin?
What is Docker?
Built by Docker Inc., it is an open platform for developers all over the world to develop, ship and run applications. It is a lightweight virtualization application that enables you to have access to thousands of containers created by developers across the globe.
You can separate your applications from other infrastructure so that the software delivery is smooth and easy. Shipping, testing and deploying the code becomes quick thereby significantly reducing the delay between the code creation and running it in production.
Synology facilitates its users with an optimized Docker management GUI. It lets you create and manage containers on Synology NAS.
Keep reading ahead to learn the installation process for Synology Docker.
Let’s Help You Install Docker on Synology
Before you proceed with the installation process, we want you to know that Docker is compatible only with specific Synology NAS devices. You are recommended to first check the compatibility and then move further. Now do the Synology login and follow the steps provided below:
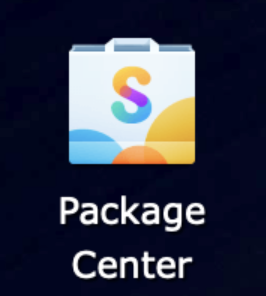
- Get to your DiskStation screen first and then click on the Synology Package Center icon.
- Enable access to Synology Beta Packages now. You need to click on Settings on the Package Center page for this.
- Click on Beta on the top.
- Yes, I want to see beta versions! This checkbox needs to be selected now.
- Click OK and proceed ahead.
- On the screen named main Package Center, type Docker in the search bar.
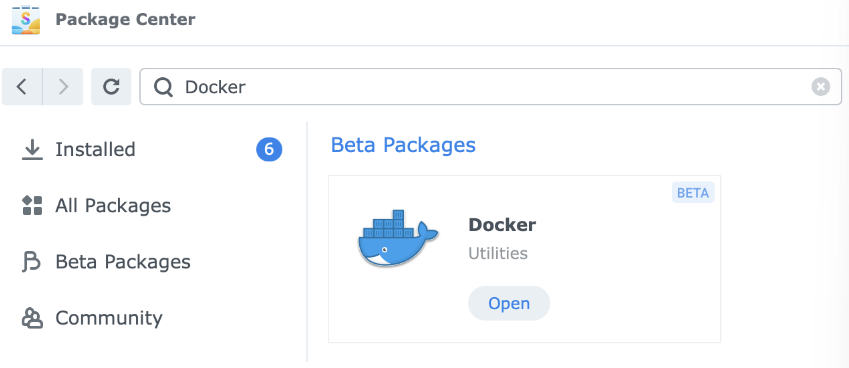
- Select the Install button to begin installing Docker on your Synology NAS.
How to Access Docker on Synology NAS?
Now that you have Docker installed on your Synology NAS, you can begin using it. Use find.synology and find Synology NAS. Thereafter, use these steps to access Docker:
- Go to DiskStation manager on Synology NAS.
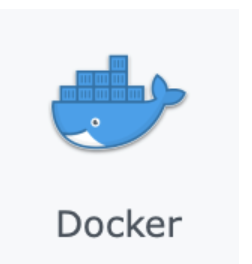
- Click on the icon named Docker.
There you go! Go ahead and begin installing useful applications on your Synology NAS using Docker. The next section helps you to learn how you can create a container on Docker.
How to Create Container on Synology Docker?
- In DiskStation, click open Docker that you have installed on your Synology NAS.
- In the left-hand side, click on the Registry tab.
- Input the relevant keyword in the search bar. The search results containing the keywords will be displayed. Find the right one that you want to use from the list.
- Click on the Download button that you’ll find on the top.
- You can also double click on the search result to begin the download.
- Now, in the left panel, click on the Image option. The image will be listed here.
- On the top, click on Launch.
- Assign a name to the container. Choose a unique name.
- You can give high privilege to the container by selecting the checkbox. You can also set CPU usage priority manually.
- Next, click on Advanced Settings. Customize the settings as per your requirements. Click
- Apply to save the settings.
- Get back to the General Settings page and click Next.
- On the summary page, select the checkbox Run this container after the wizard is finished and click Apply.
That’s it. You have successfully created a container on Synology Docker. You will find its icon on your desktop. You can launch it by double clicking it. Log in to it using the username and password that you assigned during the container creation process.
Summing Things Up
In this guide, we have provided you with clear and to the point information on what is docker and how to install Docker on Synology NAS. The same blog post also talks about how you can create a container on docker so that you can begin using the application. With the hope of providing you with sufficient information, here we put a full stop to our informative piece of write-up.