How to Map Synology Drive on Windows: Easy-to-Follow Steps
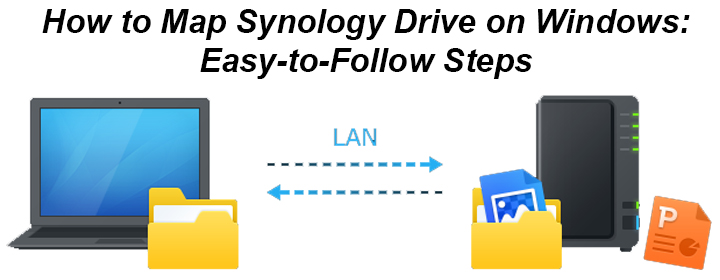
Mapping the Synology drive within the OS allows you to access it on a Windows PC. If you map Synology drive on Windows, you will end up creating its shortcut. And yes, this drive is present on another computer and generally looks like a C drive when the shortcut is created (drive is mapped).
The drive opens as if it is present on your computer and so do its contents. However, in actual this drive is located on another computer. This is a great method if you do not want to access your NAS through find.synology.nas on a web browser. This blog will provide you with complete instructions on how to map Synology drive on Windows 10 OS.
Note: The mapped Synology drive acts like a local SSD or HDD. Hence, you will be able to access it very quickly.
How to Map Synology Drive on Windows?
Mapping the network drive demands the user to perform the initial steps on the Synology NAS and the final ones on the PC. Given below are the steps that you need to follow in order to map the network drive on your Windows PC.
Enable SMB Services on NAS
- Open a web browser on a PC to which the NAS which you wish to manage is connected.
- Using the valid credentials, log in to the NAS.
- You can also log in using the Synology QuickConnect software.
- Now, ensure that you have enabled SMB at these locations:
- Control Panel > File Services > SMB for DSM 7.0 and more
- Control Panel > File Services > SMB/AFP/NFS > SMB
- Open Security followed by Control panel.
- Go to Firewall > Edit Rules.
- Allow traffic on the network ports 137, 138. 139, and 445.
- Your user account should have Read/Write or Read Only permissions for that folder to mapped as Synology Network drive on Windows 10 PC.
- Disable the settings that might block access to SMB services.
Map the Network Drive
- Go to official Synology Download Center and download Synology Assistant from there as per the model number of your NAS device.
- Launch the Synology Assistant as soon as it installs.
- Select the NAS model > Map Drive.
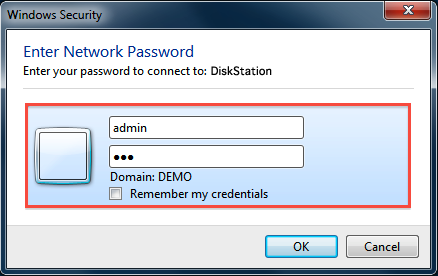
- Enter the username and password of your administrative account.
- Select Next.
- Now, choose the folder that you wish to connect to. It should be the shared one.
- Select the letter that you wish to use for the mapped Synology network drive.
- Want your NAS network drive to connect automatically? Mark the Reconnect at logon checkbox.
- You will be able to check the summary of the mapped drive after selecting Next.
- Complete the setup by selecting Finish.
- The network drive has been successfully mapped.
In this manner, you can map a network drive on your Windows PC. You will now be able to access the mapped Synology NAS drive from your PC without visiting a web browser or using any special software.
The Conclusion
Our guide explaining how to map Synology drive on Windows PC ends here. Hopefully, you will be able to map the network drive without any errors. However, you must know that ports must be open on your NAS and the computer in use must be connected to the network drive you want to access. The steps given here will equally apply if you want to map NAS on Windows 7 or Windows 11 PC.

