Synology DS420j 0 TB External Hard Disk Drive (HDD)Setup
DS420J is a desktop Network Attached Storage device by Synology specially designed to meet the storage needs of home users. The stored files can also be shared. You can use different networking protocols with this desktop NAS. It also supports multiple RAID configuration due to which file sharing across different platforms is easy.
This blog is intended to help you with the installation process of a Synology DS420j 0 TB External Hard Disk Drive (HDD). Give a read to the information given here if you want to install this desktop NAS from Synology. In addition to hardware installation, this post is also backed up by the steps to install DSM on NAS by accessing the find.synology login address.
How to Install Synology DS420j 0 TB External HDD Hardware?
Here are the steps explaining how you can install the hardware of a Synology DS420j 0 TB External Hard Disk Drive (HDD) to facilitate data storage and sharing over a single online platform.
1. Let’s Begin by Installing Drives
Give the first shot to the installation process by installing drives on the NAS. For this, it is suggested that you remove the 4 screws that are securing the back cover of your NAS hardware. Remove the back cover after that and lift the upper case. We would like to inform you that you will need the 2.5” or 3.5” SATA drive for installation.
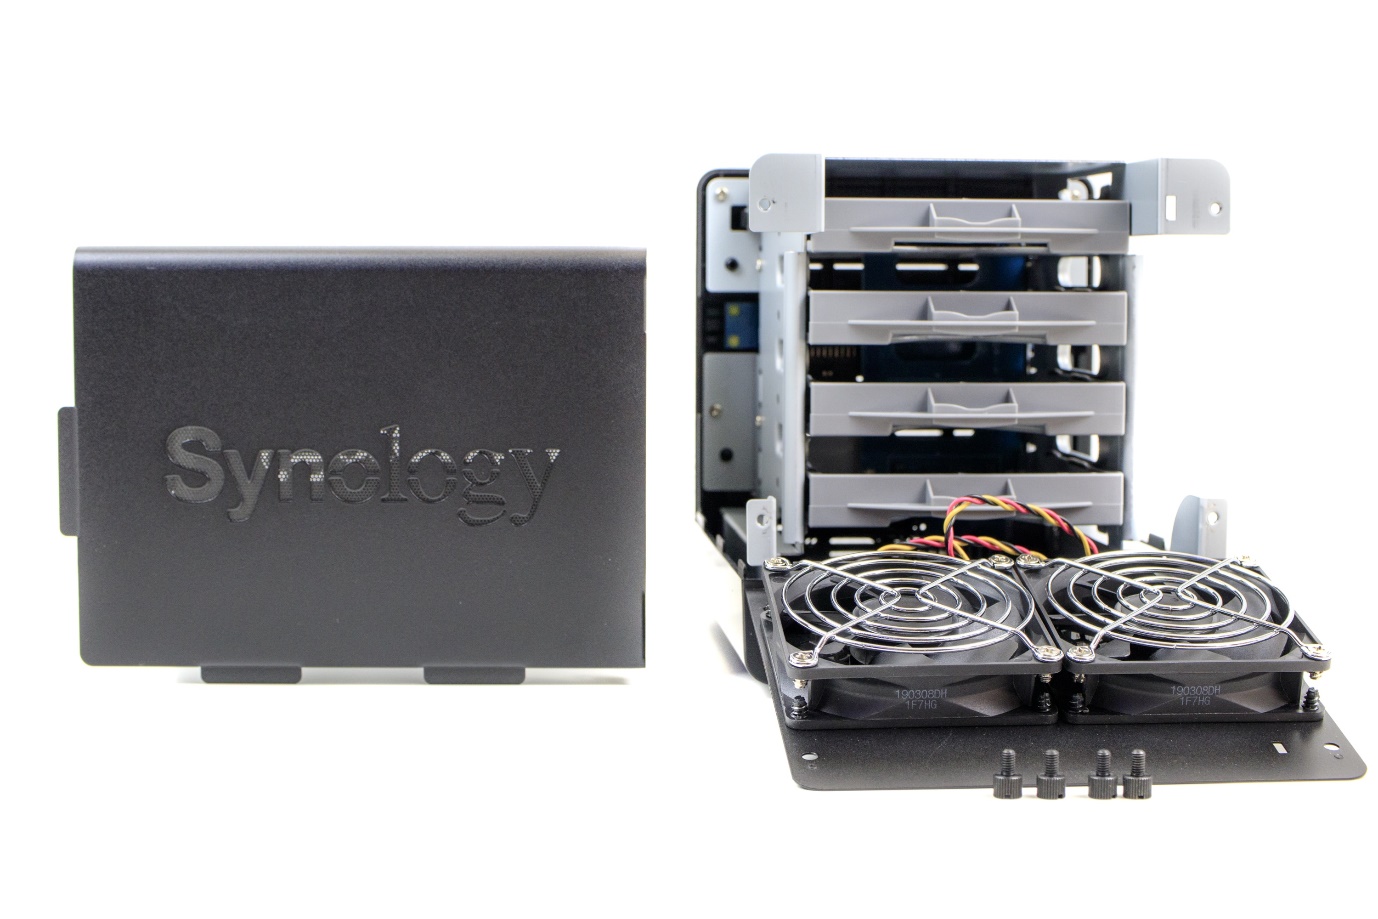
You need to place the drive in drive tray’s blue area. Tighten the screw followed by that and insert the loaded drive tray into the empty bay of the drive. You need to follow these steps again if you want to install more drives. The hardware is installed now.
2. Start Your Synology DS420j 0 TB NAS Now
Now, it is time to start up the NAS. This can be done with the help of the power adapter. However, you also need to establish a connection between your Synology DS420j 0 TB External Hard Disk Drive (HDD) and your router/hub/switch. Press the Power button in order to turn on your NAS device.
3. Check the LED Behavior of HDD
The hardware installation won’t be considered complete if the LED behaviour on the NAS is not appropriate. You can check out the below-given table to understand what do the LED colors mean and if your NAS installation is successful or not.
| LED Light | Status | Meaning |
|---|---|---|
| Disk 1-4 | Solid green
Blinking green Solid orange Off |
Your drive is ready and idle
The drive is being accessed Port is disabled No internal drive is there |
| Power | Solid blue
Solid blue Off |
Your Synology NAS is powered up
NAS is either booting up or powering down No power on Synology NAS |
| LAN | Solid green
Blinking green Off |
Your DS420j is connected to network
The network is active No network is there |
| Status | Solid green
Blinking orange Off |
Normal volume
Volume degraded/crashed/not created/DSM not installed HDD hibernation |
How to Install DSM on Synology DS420j 0 TB External HDD?
Since you have completed the hardware installation of your HDD, it is now time to install DiskStation Manager i.e. DSM using which you will be able to manage your NAS using a web browser. Here’s how:
- Ensure that your NAS is turned on.
- Load an internet browser on the computer that is sharing WiFi connection with the same network as your Synology DS420j.
- Go to the address bar and access find.synology.com.
- You will see the web assistant of your NAS on the browser and its Status will be Not Installed.
- Click Connect and go through the on-screen prompts to complete the installation.
In Conclusion
Installing Synology DS420j 0 TB External Hard Disk Drive (HDD) is not a difficult task. After the hardware installation is completed, you can further install DSM on NAS. We hope that you will be able to make your NAS up and running easily.