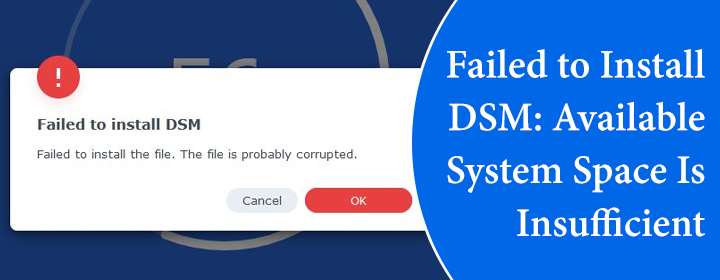
Failed to Install DSM: Available System Space Is Insufficient
Synology DiskStation Manager is a Linux-based operating system that allows users to manage their data and customize system settings. It is also used to install and open packages, create RAID volumes, and modify system settings making it easy for a user to manage his/her digital assets. It can be accessed via a web browser using find synology address or desktop utility.
You can install DSM versions with or without internet connection. But, there are times when the user gets the error message saying “Failed to install DSM: Available system space is insufficient” while doing so. What to do in that case? This blog will explain.
Reasons Why You Failed to Install DSM
The error message generally shows up when your system does not have enough capacity to unzip or install update files in the system partition. This is to inform you that the error message has nothing to do with the Volume partition storage. It is connected to the System partition on which you have installed DSM. Therefore, you don’t have enough space to download and unpack new DSM versions like DSM 7.2 or above.
Troubleshooting: Failed to install DSM as System Space is Insufficient
Considering that you are now aware of the reasons why you are failing to install DSM, let’s find out what can be done in order to fix the problem.
1. Use Shared Folders Only
You need to use shared folders to store your data and command output inside them. This needs to be done because output from terminal commands fill up the system partition thereby causing errors. It happens when terminal commands output create files or folders within the system partition like in/root or/opt.
2. Clear Oversized Wallpapers
Personalized wallpapers are stored in the system partition of the Synology NAS having DSM 6.2 or older versions. Know that too large wallpapers can take up a certain amount of storage capacity even after they are zipped. Thus, clear them from storage. Here’s how:
- Sign in to the DiskStation Manager.
- Select the Admin icon in the upper-right cornet.
- Now, click Personal > Desktop.
- After that, go to Customize Wallpaper > Select Image > My Image > Previous Images.
- Lastly, Clear All.
3. Turn Off Unnecessary System Logging
System logs also consume storage. Thus, you should turn off unnecessary system logging if special debugging is not needs. Follow the given steps for that:
- Launch Support Center and go to Support Services.
- Select System Log Tools.
- If you have DSM 6.2 or older, you need to deselect Log More Detailed Information for Diagnosis.
- In case you have DSM 7.0 or later, deselect Log System Status Periodically.
- Click Apply.
4. Disable Media Server Package
The feature Enable DMA Communication Log for Diagnostic Purpose feature also takes up a lot of system space. Thus, you can try disabling this feature. Here’s how:
- Open Media Server.
- Select Diagnose after General Settings.
- Deselect Enable DMA Communication log for Diagnostic Purpose.
- Select Clear.
5. Restart Your NAS
There is also a possibility that you are facing the problem because DSM is running for some time. Restarting it can free up the system resources that are working. This will also free up resources so that you can update the DSM or install a new firmware version. The DSM update is also possible if you are present on a network other than your router’s network. For that, go to quickconnect.to URL for remote access.
The Bottom Line
If you fail to install DSM and get the same error message, it means that more system capacity is required to perform updates. Thus, do the needful and get more storage.